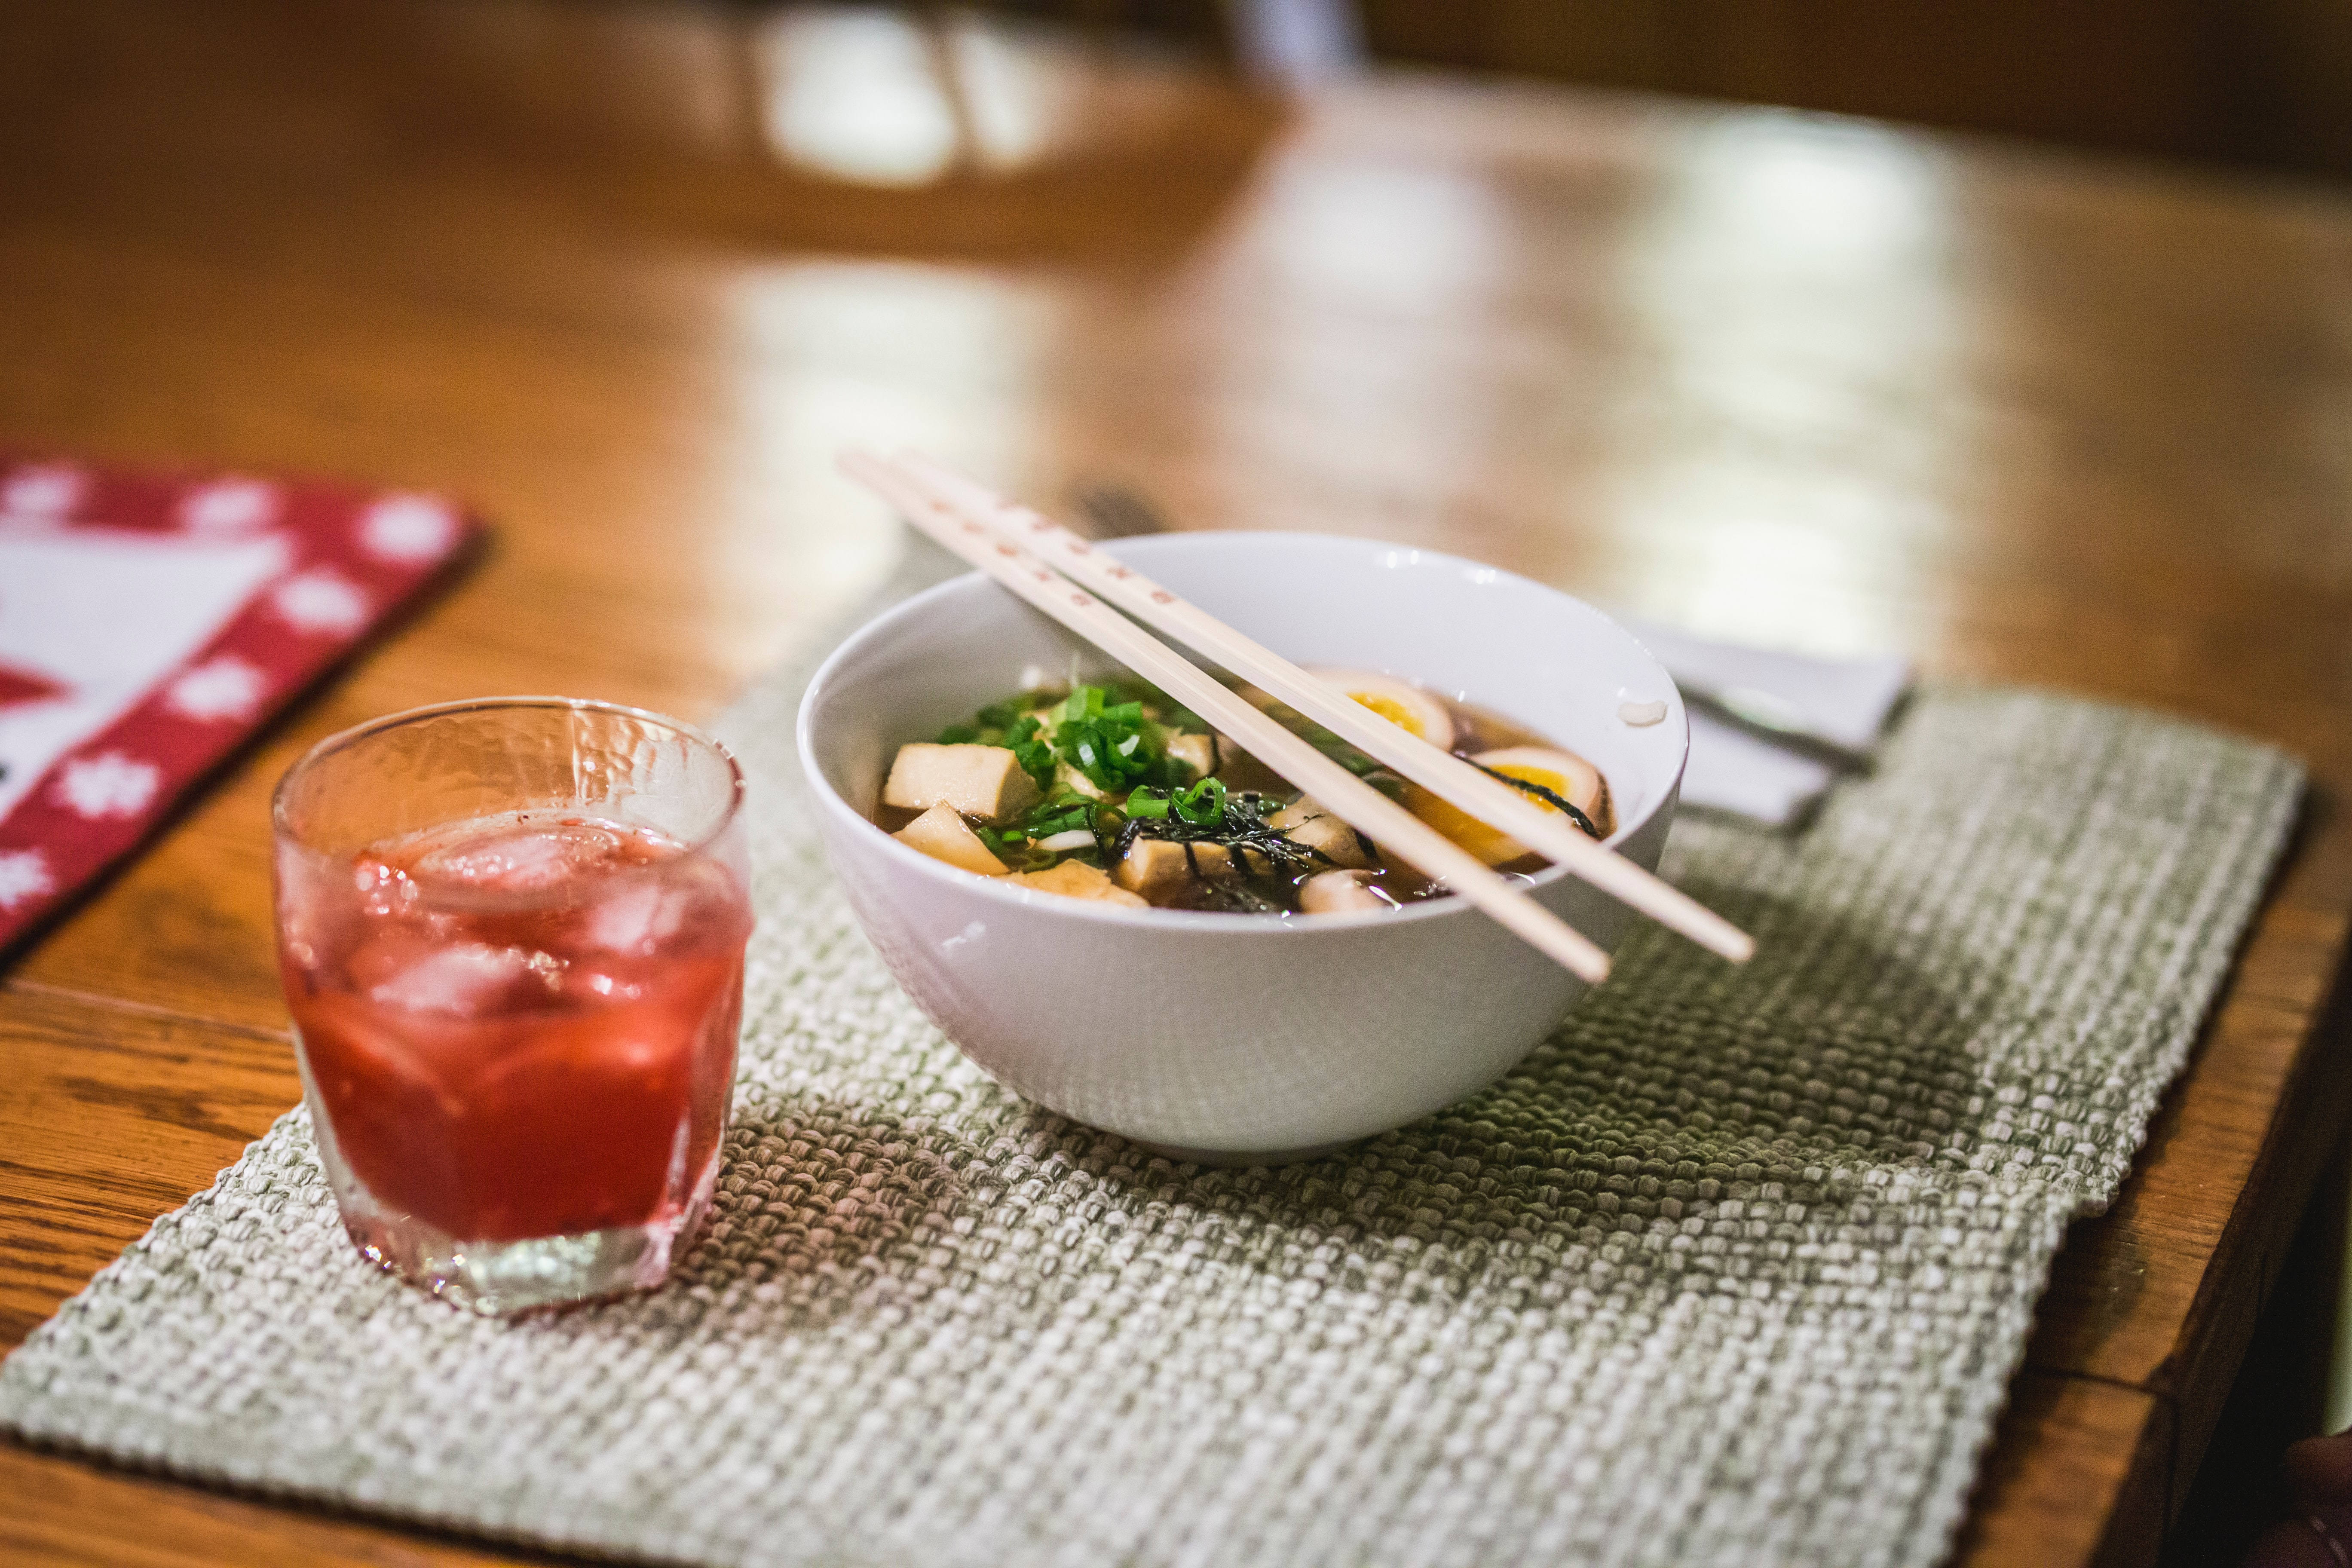
Making Miso Soup
Miso Soup can be eaten at any time and is a great alternative to soggy cereal for breakfast!
Make up a batch and store it in the fridge for a day or two and have some when you feel a bit peckish or as a starter.
You need to use fermented soy miso (which you can buy from health food shops). Miso is a soy bean paste which is made from soybeans, barley, sea salt and water. It is massively good for you – studies have revealed it is great for heart health and digestion. It helps support intestinal microflora and is an excellent source of protein and fibre. It also contains zinc, manganese and copper and is full of phytonutrient antioxidants (ok – let’s just say it is good for you!). BUT while it is easy to prepare it is also easy to make a few common mistakes… so follow these directions for the real deal Miso…
Ingredients:
Kale
broccoli
cauliflower
daikin (this is the white radish-like veggie that looks a bit like a white carrot, you can use turnip or white radish instead)
carrot
ginger
onions
*amounts of vegis vary depending on taste
organic barley miso (unpasteurized) (get this from health food shops)
wakame seaweed (soaked and drained)
shitake mushrooms (soaked and drained)
garnishes – choose from shallots, parsley, celery leaves
* you can also add a tablespoon or two of cooked rice to the soup when it’s finished.
Directions:
1: soak the mushrooms and wakame (in separate bowls of water)
You only need to use one or two strips of wakame as it expands when soaked
2: while they are soaking, add water to pan (around 2 litres) and begin to heat
3: Now begin to chop up vegies – harder vegies first (eg: carrot, onion and daikin) then add to pan of water. Add the shitake mushrooms (cut off stems as these are hard and chewy), pour in juice from the soaked mushrooms to broth – for more flavour and nutrients.
4: Remove wakame from bowl and then slice it up – it will be pretty slimy – that’s good 🙂 but you may wish to cut stem off if it feels a bit hard. Add to broth. Simmer for about five mintues and then add softer vegies (broccoli and cauliflower etc). Simmer for another five minutes.
4: NOW this bit is the bit most people get wrong…! Get a mug and scoop out a mugful of the liquid from the pan. Make sure the liquid is only simmering and not boiling. Then add a big tablespoon of the miso and stir until it dissolves.
4: Once dissolved, turn heat down on soup and stir in miso (you do not want the water to boil as this destroys the active part of the Miso). Looking in you will see the miso begin to come to life (it moves up to the surface) fascinating stuff! After about 30 seconds turn off the heat and then add your leafy veg.
And it is ready to eat!
You can also add sliced tofu if you wish and in the winter add more hearty vegies such as turnip and squash, parsnip and brussel sprouts and an extra teaspoon of miso. In summer lighten it up with more leafy vegies, peas, snowpeas, leeks and Chinese cabbage etc…
I discovered the magic of Miso after attending the Zenergy Yoga LOVE Food Course – it is a three-day course exploring how you can eat with the seasons and use food for Longevity, Optimal health, Vitality and Energy.


